Once you install the program you will find an icon on your desktop that looks like this. The black background will be different depending on what your desktop looks like but the icon will be the same.
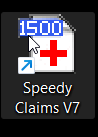
Double click this icon to open the Speedy Claims program to begin setting up and using the Speedy Claims.
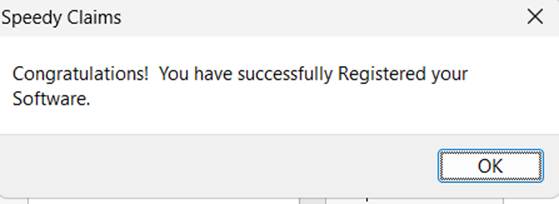
When you first open the software you will see a Registration Notice Popup
The 30 days remaining message is mainly for new users. This allows them to use the software free for the first 30 days. During this period, select Open Program to access Speedy Claims. If the 30 days run out, a message to register will appear with no more days remaining. The program does not remove itself. Once registered, all previous data entered during the 30 day trial will be in your program.
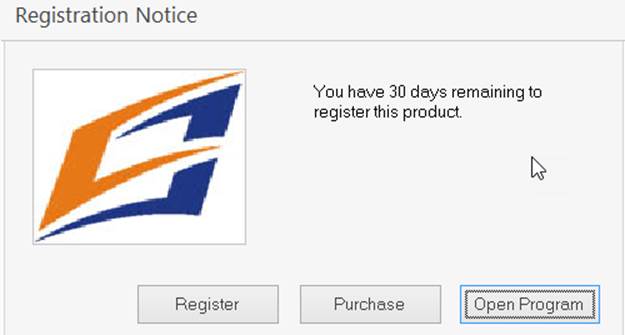
If you have not already subscribed to the software, you can click on the Purchase button to visit our website and subscribe.
Click on the Register button to begin the Registration process.

Enter the License Number you received when you subscribed to the software and click Continue.
You must be connected to the Internet at this point to complete the registration. You will see the following screen

Enter the License Number you received when you subscribed to the software and click Continue.
You must be connected to the Internet at this point to complete the registration. You will see the following screen
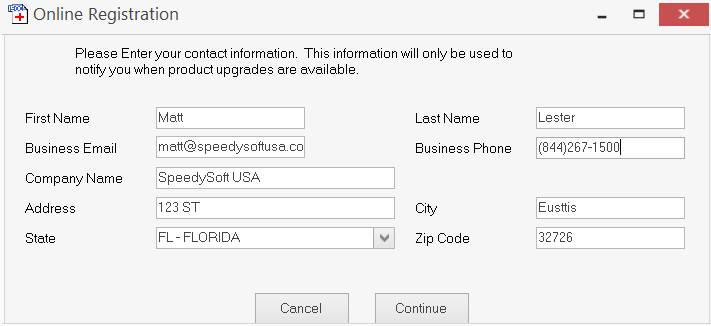
Fill in the fields with your information and click Continue.
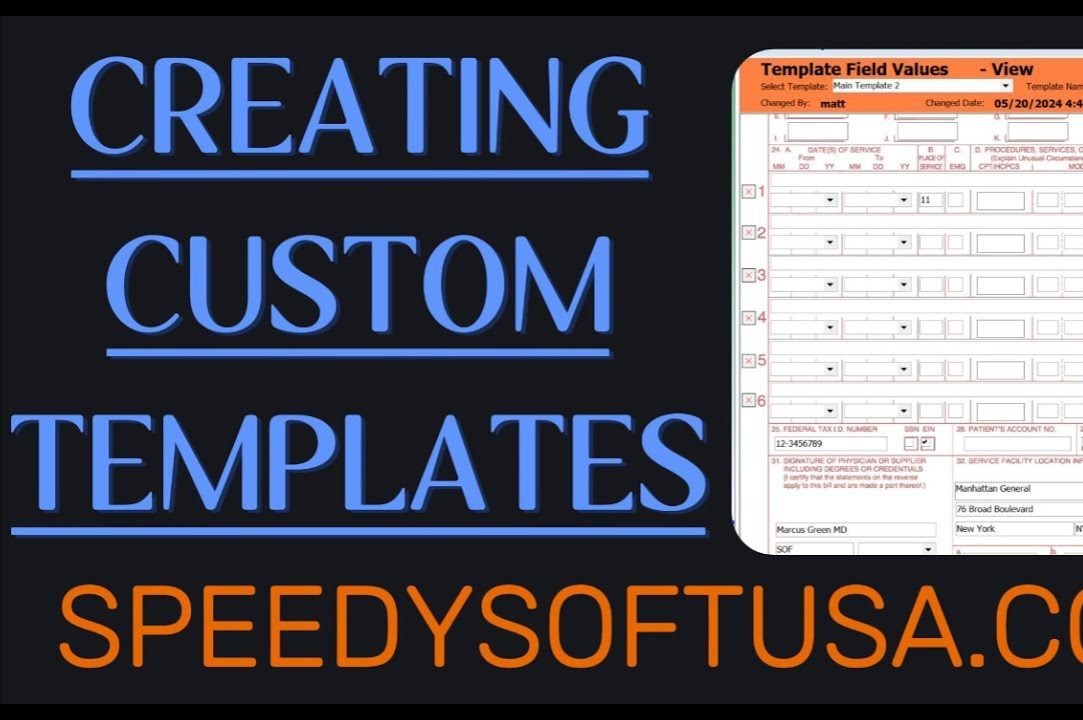
Creating Claims
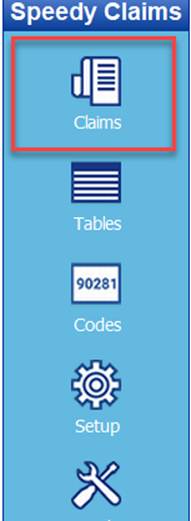
Once you are in your Speedy Claims, creating 1500 claims is a breeze. Click on Claims from the top left vertical navigation field and select “CMS 1500 Claim” from the top. This will display a blank form, ready to be filled out.
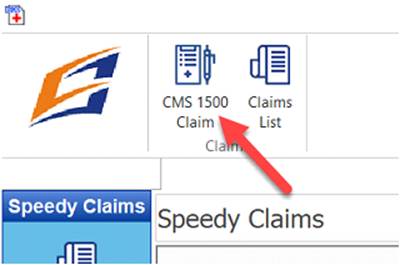
This will pull up the familiar CMS-1500 claim for you to fillout.
\
You can use your mouse to select the appropriate fields and your keyboard to enter the data or you can use your Tab key to move among the fields. Regardless of the method you use, simply fill in all the appropriate fields and click either the Save icon or the Print icon. Printing will automatically save the claim to the Claim List.
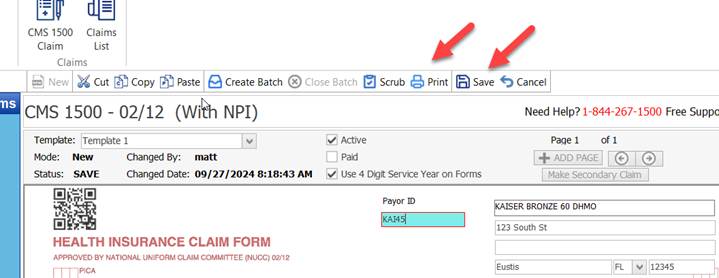
If you choose Print, the form will be printed according to your selection from the Settings Menu, and it will be saved to the Claims List. If you choose Save, the claim will be saved to the Claims List for later action. After the claim is saved, click on the “NEW” icon to start a new claim.
·
When you create and save a claim, all of your data is saved into the appropriate tables, AND a copy is stored in the Claims List.
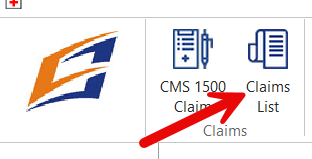
If you click on the Claims icon you can see a list of all the claims you have created.
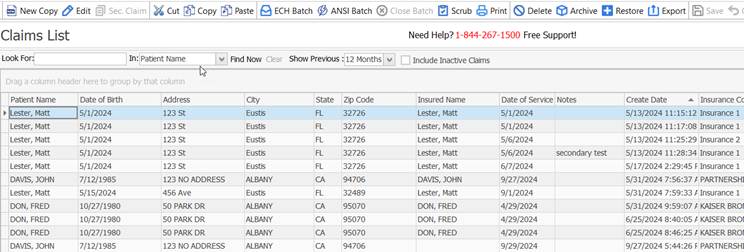
From this screen you can Edit an existing claim, Copy an existing claim, Print or Delete a claim or create a new claim. There are multiple ways to accomplish all of these actions. We are sure that one of them will suit your style.
1. The menu bar across the top of the page has icons for New, Copy, Edit, Print Delete, Scrub, and Archive, as well as your electronic batch options..
2. RIGHT click on an existing claim. You will see a Pop Up Menu. with similar options that you see at the top of your claim list when highlighting a claim.